Thrift Find: Antique Settee Sofa Upholstery Project
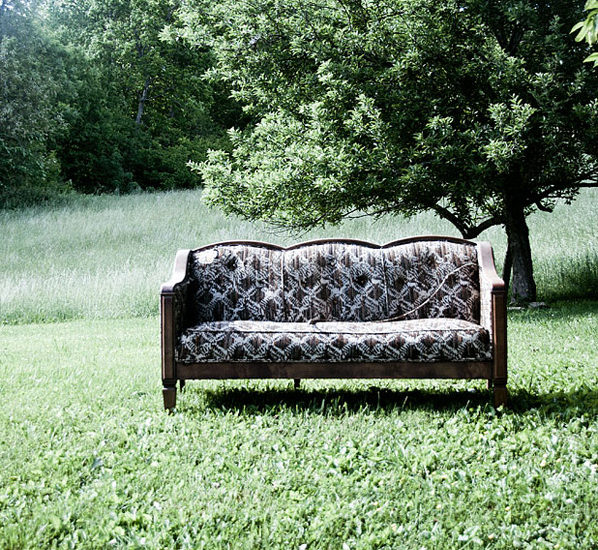
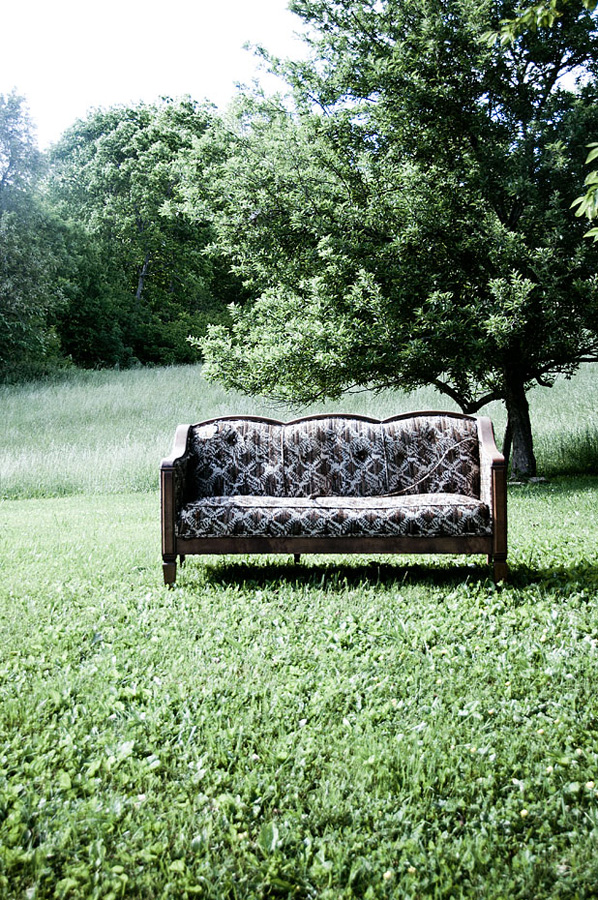
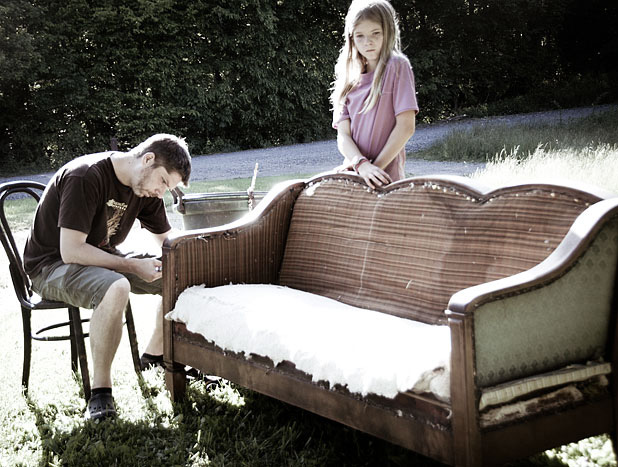
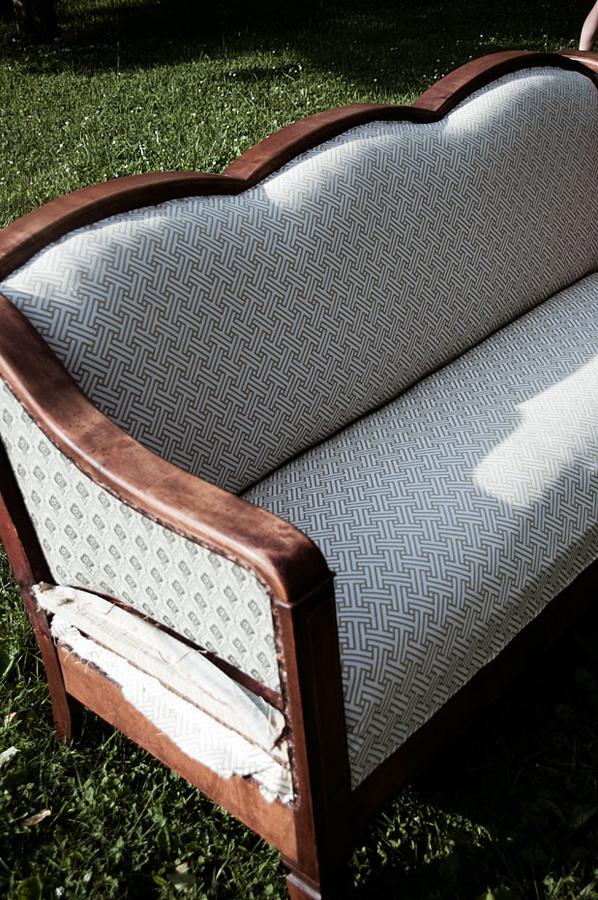
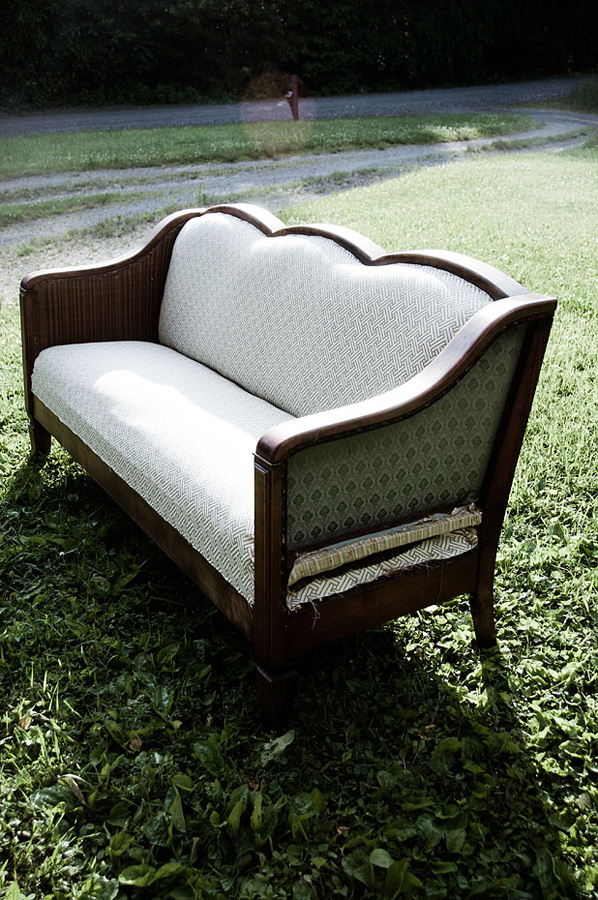
I thought I’d share our most recent diy upholstery project. A couple weeks ago, we picked up this old settee. At first glance this settee looks like a hot mess. Dirty and ugly. Not to mention the scratchy 1970’s fabric and dust! But after giving it a closer look it turned out to have a solid (walnut?) wood frame with hand-tied springs and sturdy construction. Probably dates to the early 1900’s based on our quick googling. As an added benefit, it had no loose cushions which meant changing the fabric would be a very basic upholstery stapling job. Rip off the old and staple on the new!
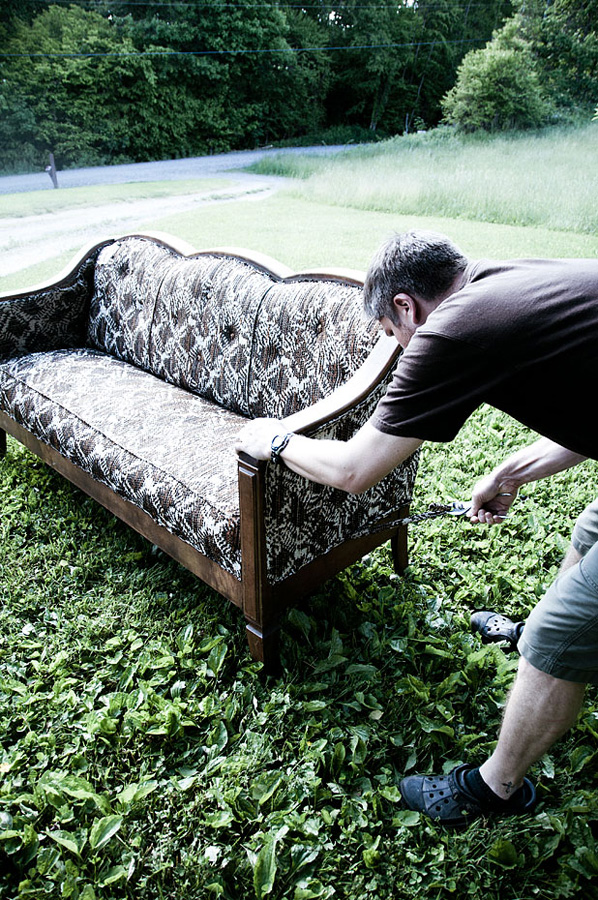
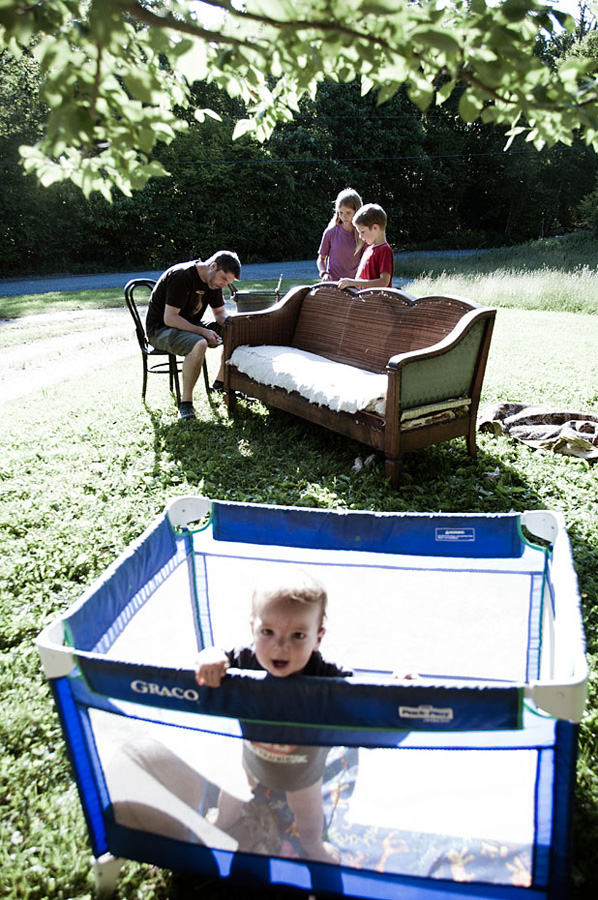
It helped to do this part outside as it was very old fabric.
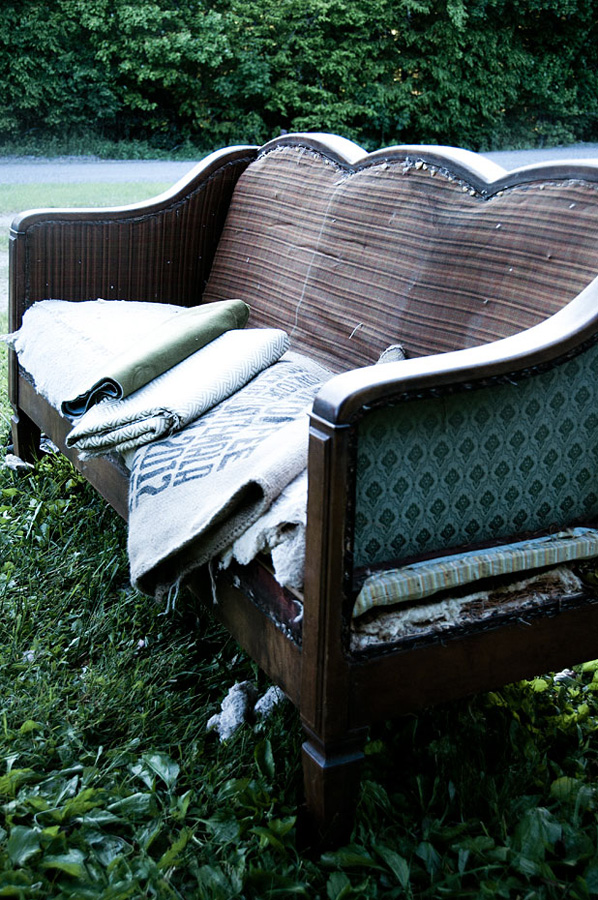
We found lots of different fabrics underneath. The green brocade peaking through on the photo below was the original. Very Victorian.
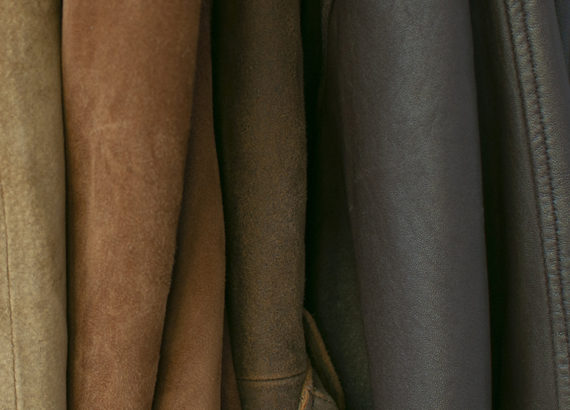
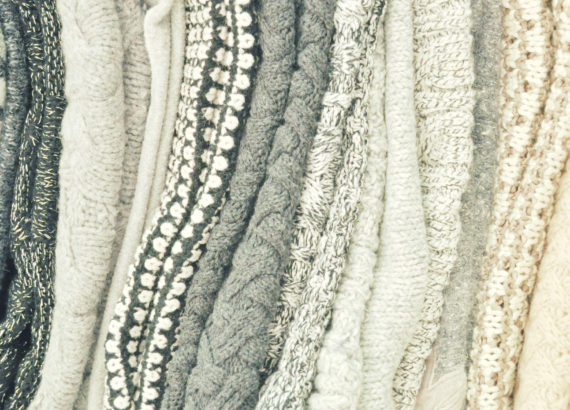
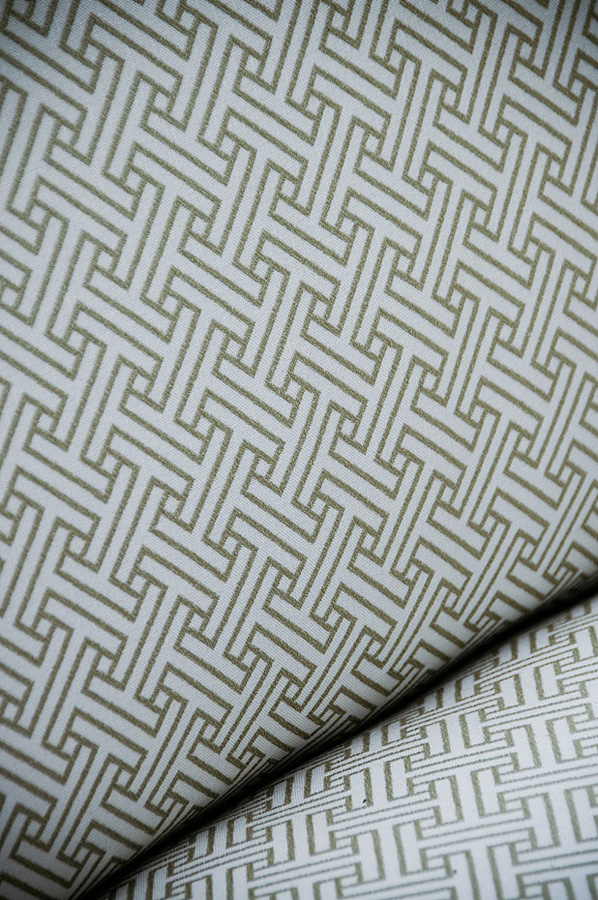
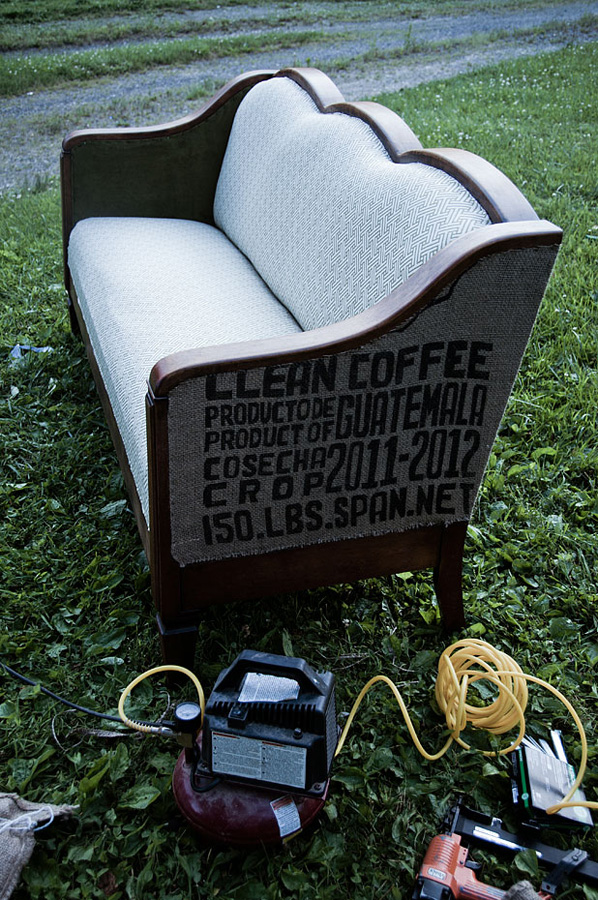
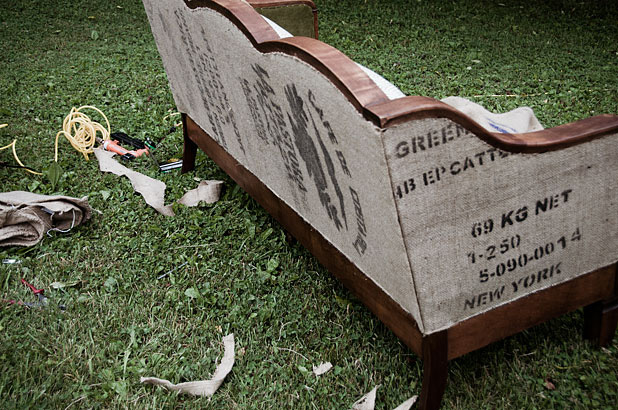
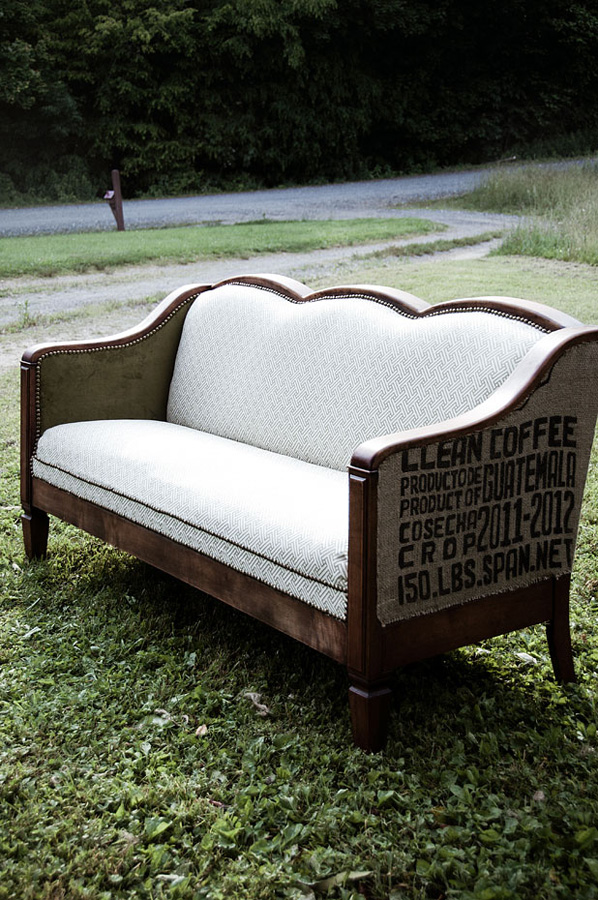
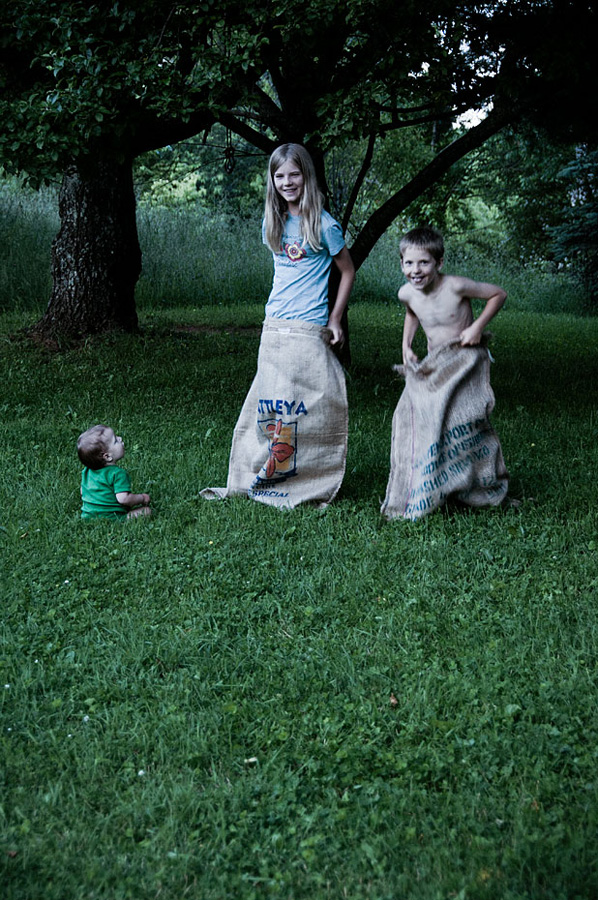
You can see the fabrics I picked above. All were remnants thrifted from Habitat Restore plus coffee sacks from a local friend who owns a coffee shop.
The seat was first to get new fabric. And then the back rest.
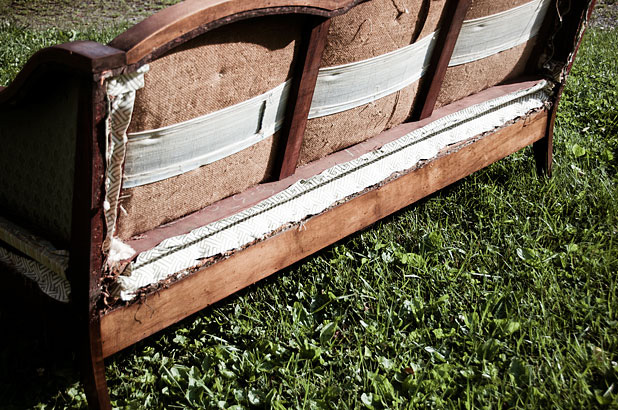
This next photo will help show what I meant by saying it is a simple stapling job. All I needed to do was tuck the fabric through to the back and sides and then staple the fabric right into the wood frame along the front edge and back behind. Pulling tight and even was key. The staples in front will get covered by trim later. And the ones at sides and back will get covered by the outer pieces of fabric (coffee sacks in my case).
We left the old brocade and striped fabric on the arms as it was in fine shape and the new fabric could go right over top.
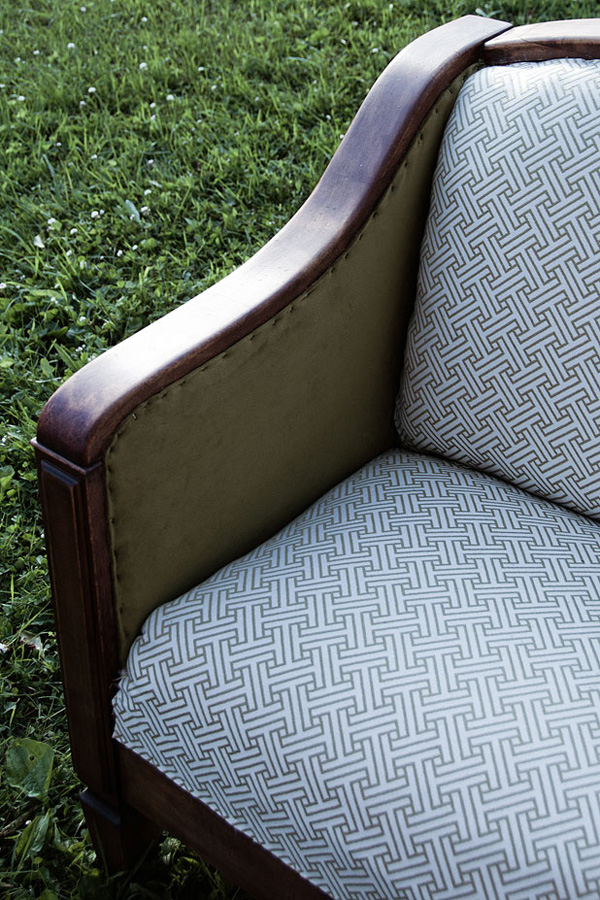
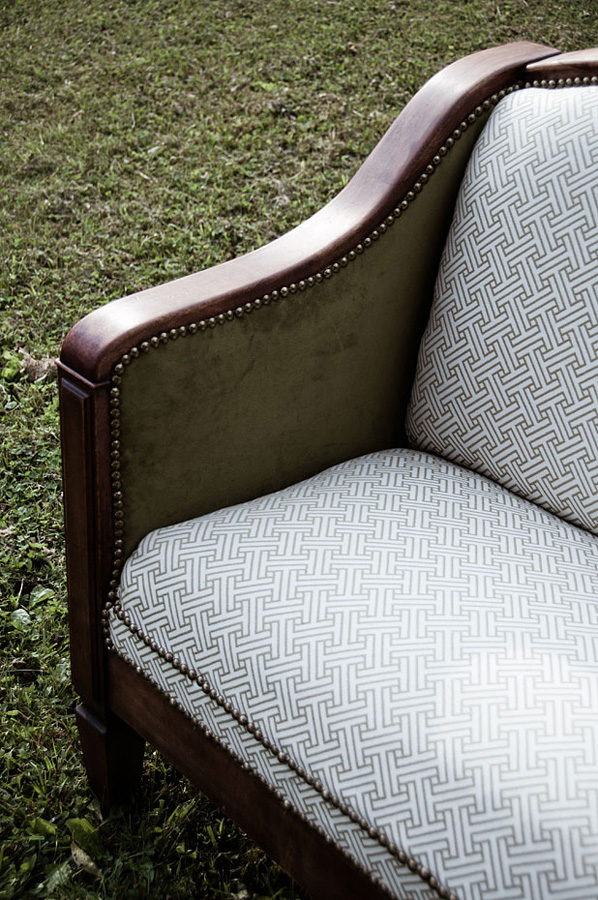
Love the touch of green velvet that went on next.
Finally the outer arms and back.
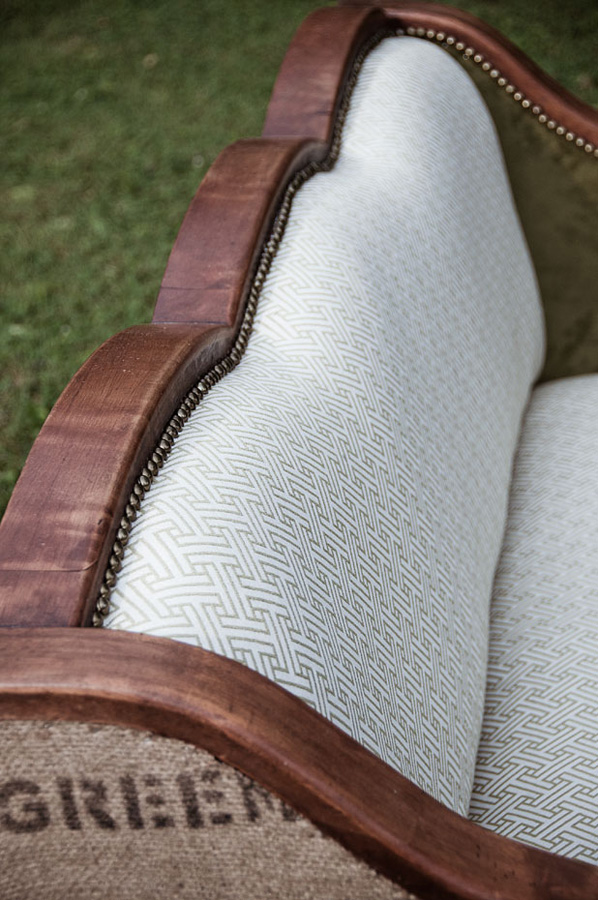
I can’t decide which part of this settee that I like best. The curves of the old wood frame, the new fabrics, or the old coffee sacks.
Yum.
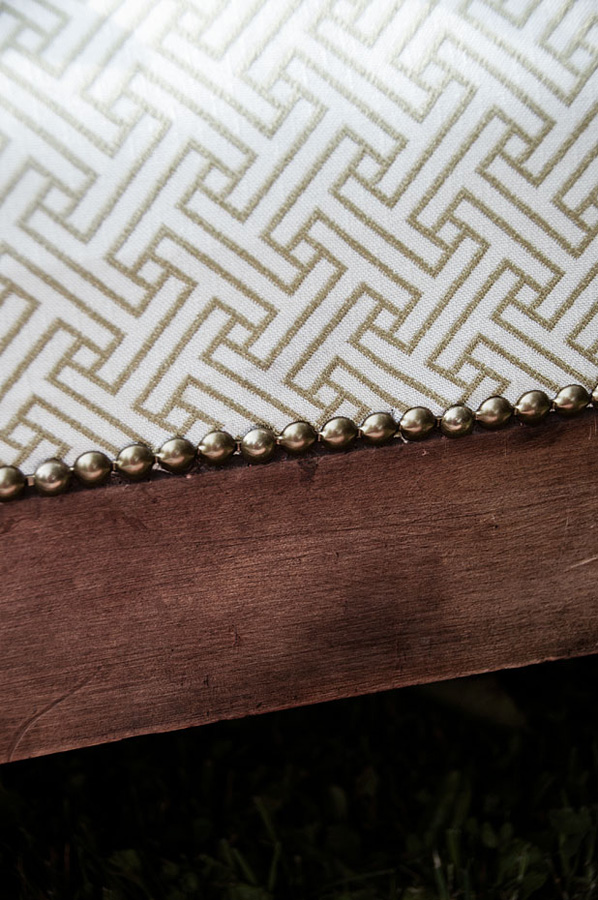
I finished the edges with brass nailhead trim.

