Free Baby Pants Pattern
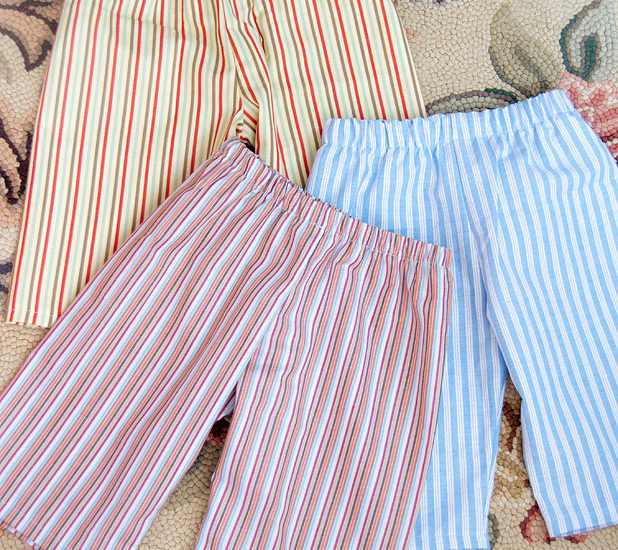
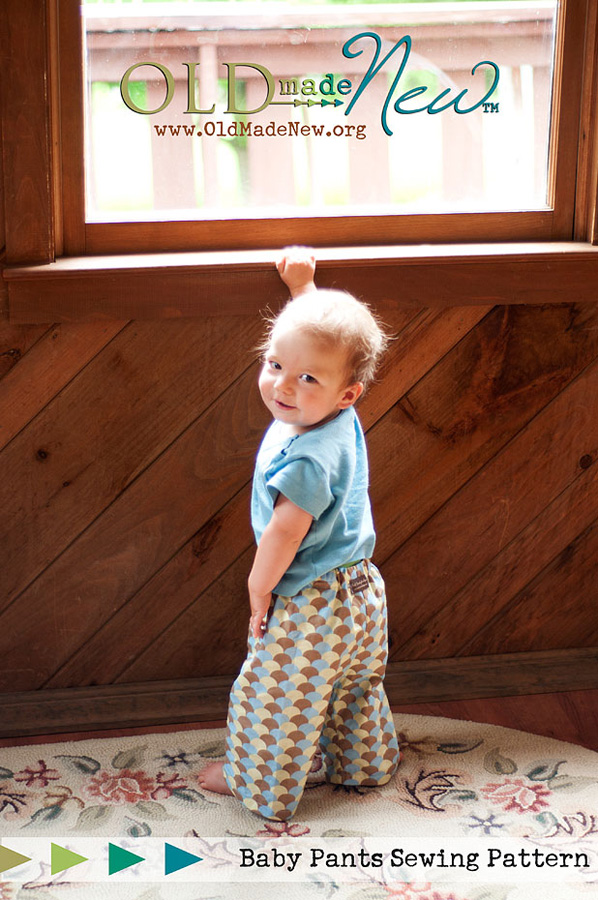
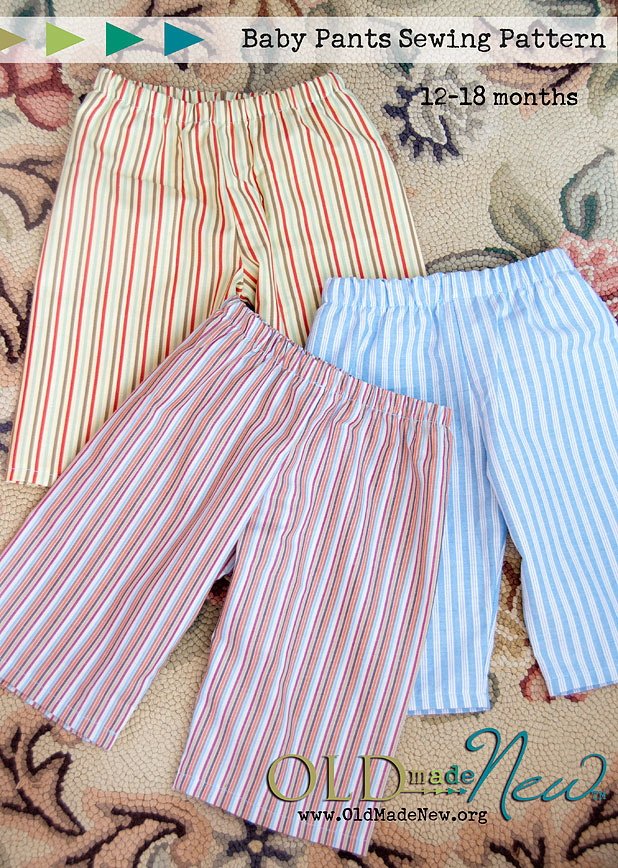
Happy Tuesday! Up for a project? My little guy needed some new pants so I whipped up a few pairs. In case you know a little one-year-old who needs new pants too, I created a free baby pants pattern pdf for you to download.
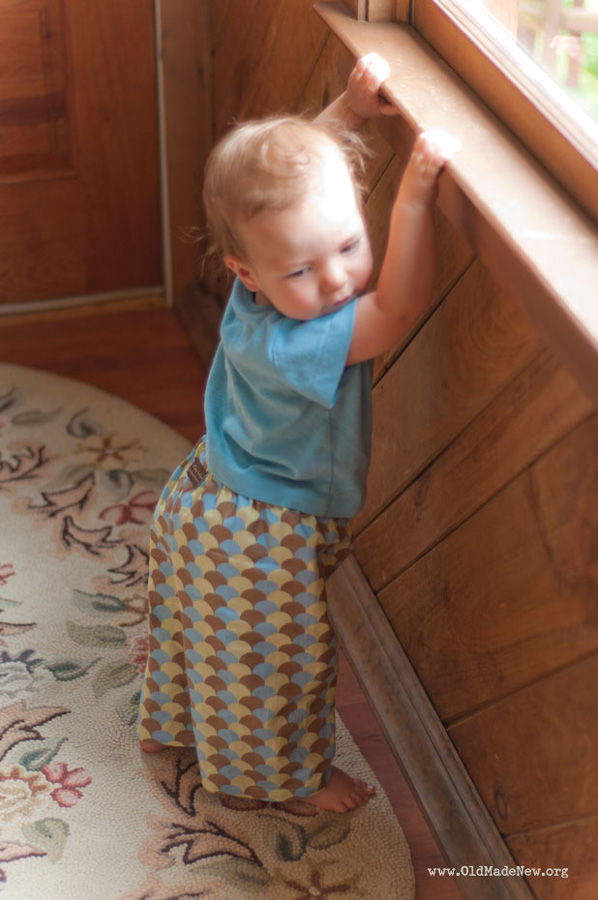
Because my boy isn’t walking just yet, lightweight pants that protect his knees are preferable for around the house. Plus an elastic waist is so much easier for diaper changes!
My pattern is great for busy moms because it can be whipped up over nap time. I made four pants in an hour! It is just a one piece pattern so the cutting goes quickly especially if you are making several pairs. Layer all the fabrics and cut all pants at once with a rotary cutter.
Because there are only 3 seams: center front, center back, and the inner leg seam, they sew up very fast as well. I did them assembly line style.
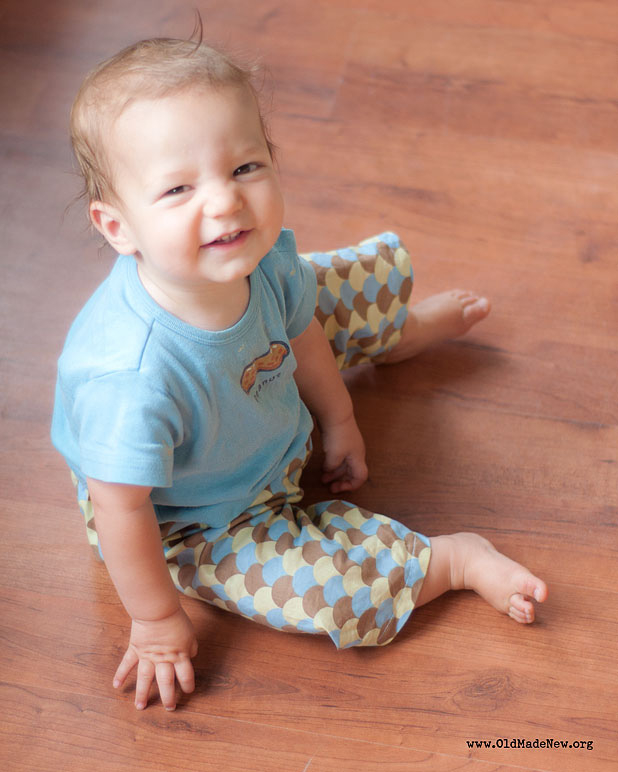
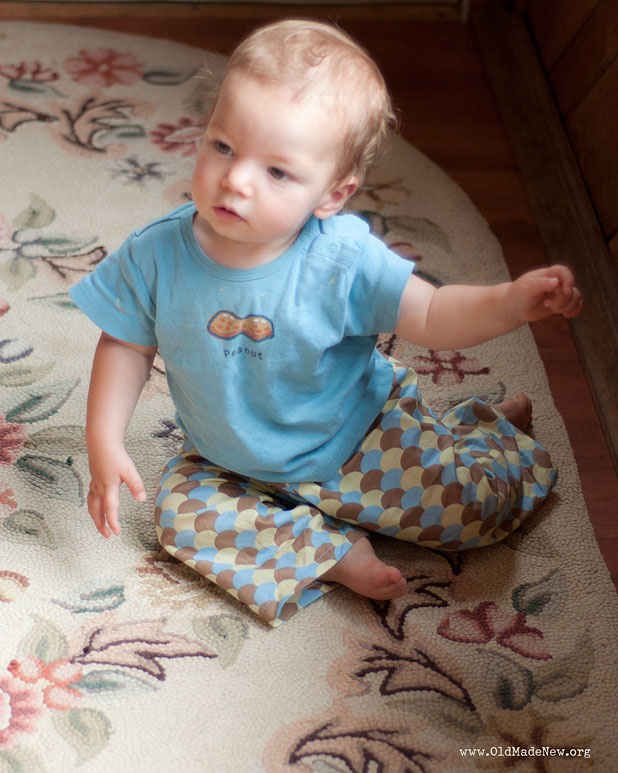
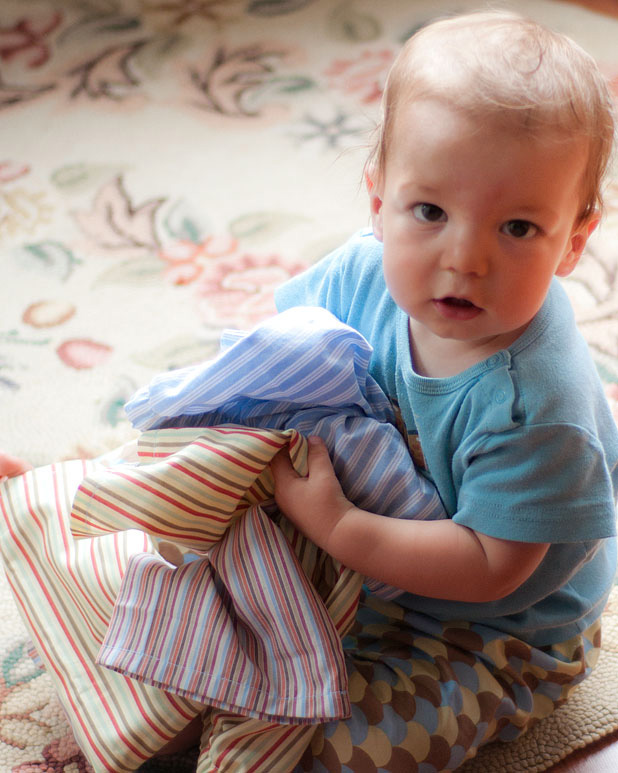
Pure cuteness! The ultimate in comfort. If only I looked so cute in elastic pants.
My pattern is for 12-18 m. We use cloth diapers which are poofier than disposable so it is nice to have roomy pants.
Have an 18m old? Add a little length at top and bottom and the pattern will probably fit 18-24 month as well. ETA: Judah is now wearing 18-24m and these still fit except need about an inch added to the length.
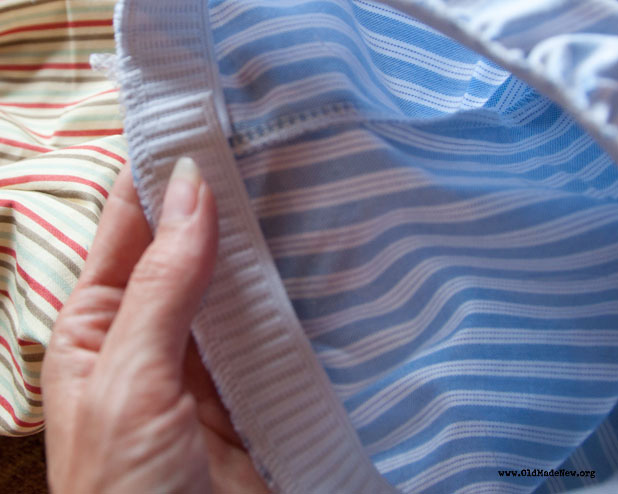
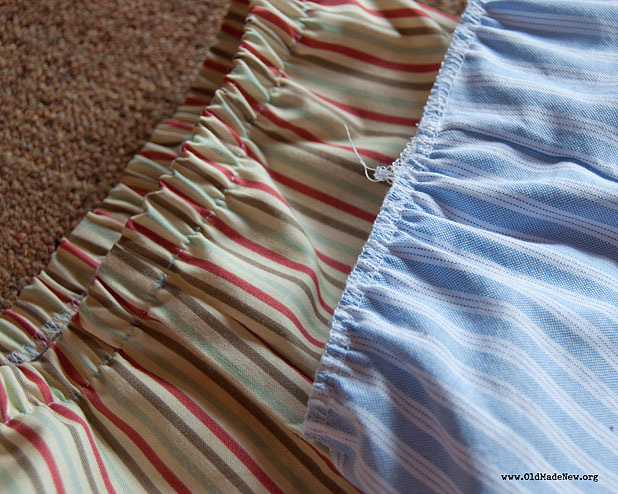
When I’m sewing things that aren’t meant to last (I fully expect these pants to be crawled through mud), I don’t mind taking shortcuts to whip them out quickly. For one, I don’t do a traditional elastic casing. With my serger, I serge the elastic in and then turn under and top stitch. These photos might help you visualize:
Photo above is of the inside view. To do this, I first cut 19 inches of elastic and then serged the top edge of the pants to the elastic pulling the elastic taut as I went. I overlapped the ends about 1/2″ (look at photo above just near my thumb and you can see that overlap).
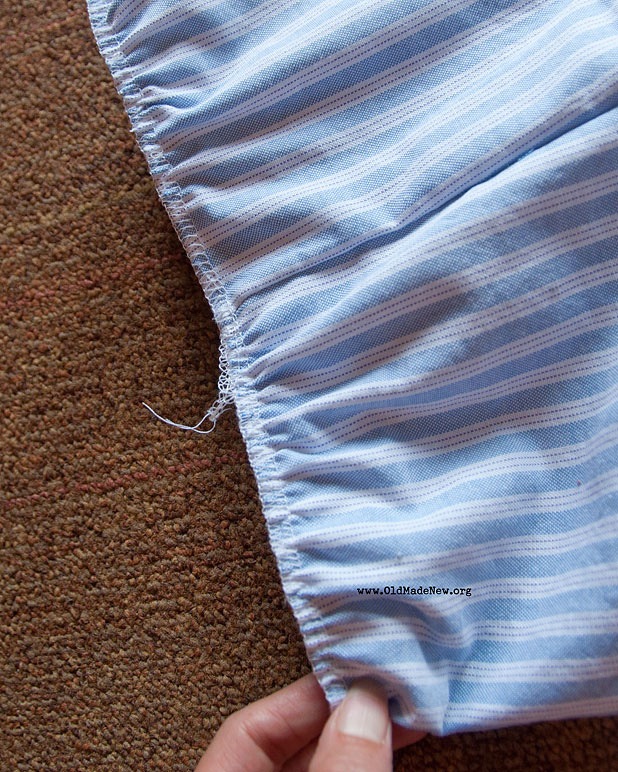
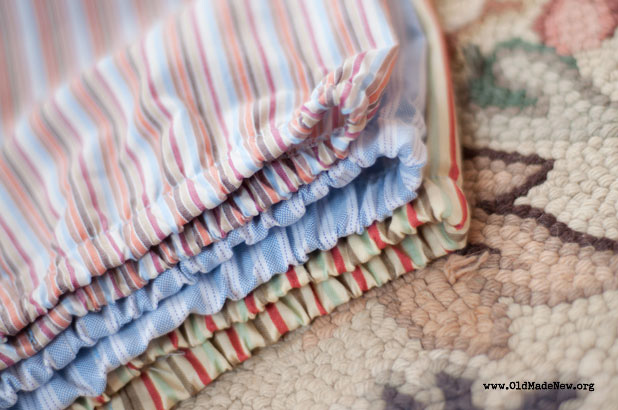
Above photo is how it will look from the outside of the fabric after you have serged the elastic on.
Tip: I put pins at the 1/4, 1/2, and 3/4 points of my elastic (as well as at coordinating points on the paints: front seam, back seam and both sides) so that I can match the pins up in order to stretch the elastic as evenly as possible. The pins act as a measuring guide so that I don’t stretch one part less than another. Just be sure to remove the pins so you don’t chop through them with your serger! You can see in the photo above that the gathering is fairly even. That is what you are going for.
Then flip to the inside so the elastic is sandwiched. Stretch again as you top stitch along the serged edge.
It takes some nimble fingers to stretch the elastic as you serge and topstitch, but is much quicker than a traditional casing if you can get the feel for it.
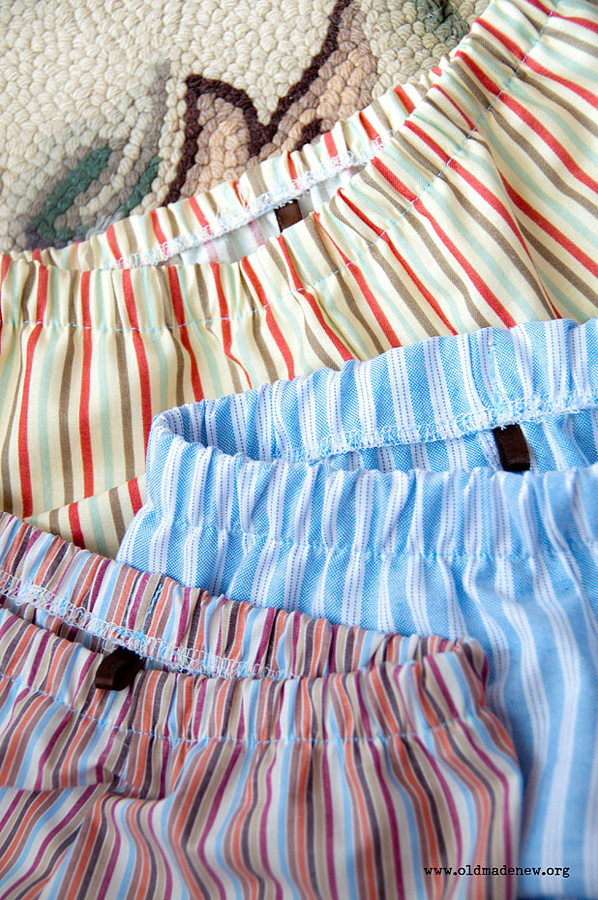
I like to mark the back (it is hard to tell the front from the back with these type of pants). I had an extra label that I put on the pair he is wearing in the photos. But for the other three, I tucked in a bit of brown satin ribbon when I top stitched the elastic.
One other shortcut that I take is on the bottom hem. I serge the bottom edge, turn up, and topstitch. Quicker than a double turn! Simple things like this made sure that I got all four pairs done before baby woke from his nap!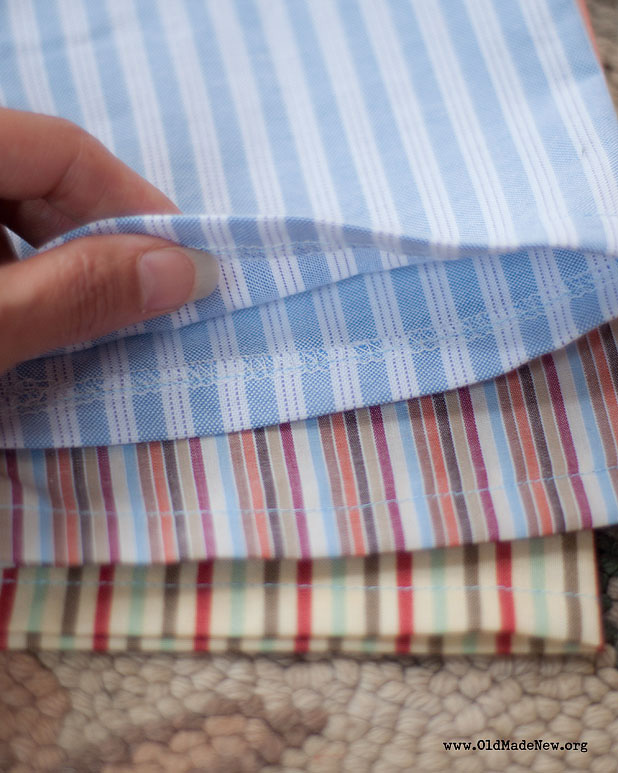
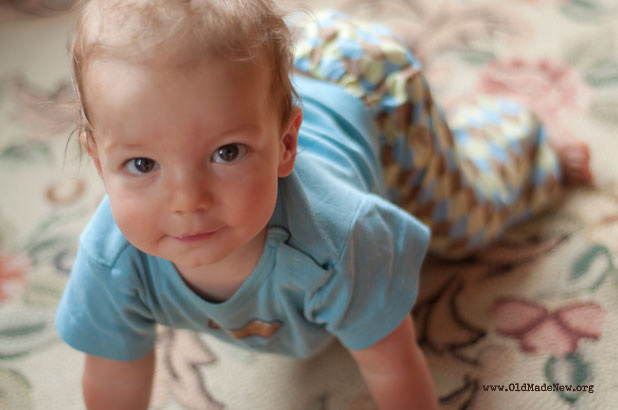
I think he likes them. :)
Click to download the free sewing pattern pdf file. I’d love to see your finished product should you use the pattern.

